Listen on: Apple Podcasts | Spotify
Though I’m not a barista, I do make a great cup of dark roast coffee. In the search for the best method for brewing dark roast coffee, we’ve tried a lot. We’ve brewed with Keurigs and Cusinarts, French Presses and Pour Overs. We even invested in a Miele countertop unit.
We’ve tried hundreds of different types and brands of beans, as well. Many we tolerated, some we tossed. A handful have made awesome cups of Joe.
This article is the result of much trial and error.
And just to ward off the coffee naysayers, coffee is good for you.
Of course, no matter how good for you it is, if it tastes bad, you’re not going to want to drink it.
To help you avoid suffering through drinking subpar coffee, I’ve outlined the best way to make dark roast coffee, using a drip coffee maker.
I’ve also highlighted the best dark roast beans and the best equipment for making great coffee.
Feel Better Fast. Guaranteed.
Energy+, EDGE, and MentaBiotics make up the Happy Juice supplement stack, with ingredients clinically proven to:
- decrease anxiousness scores by 55%
- decrease irritability scores by 60%
- decrease fatigue by 64%
- decrease anger 54%
- decrease tension by 45%
- decrease confusion by 43%
- decrease overall distress by 49%
- increase good bacteria by 70%
- decrease negative mood by 105%
- increase positive mood by 211%
The Best Dark Roast Coffee Beans
This tutorial will help you make excellent dark roast coffee. If you’re looking for the best light or medium roast beans, skip this section.
Medium roast coffee is acidic, and has floral or citrus flavors. To me, it tastes like someone tried to mix coffee and tea together. Yuck!
Dark roast coffee isn’t acidic, or as acidic, and usually has notes of dark chocolate. It’s rich and smooth. Some dark roasts have a smoky flavor.
When roasted just right, the coffee beans have a slight amount of oil on the surface.
Roasted too long, and the inside of your coffee bag will be wet with coffee oil. Don’t bother brewing that stuff. It’ll taste terrible.
On the other hand, some coffee makers label their beans as dark roast when they’re actually medium roast.
I can tell from the moment I peel open the bag. Medium roast beans are completely dry. I hate throwing coffee away, and will always give it a try, but almost every time this has happened, we’ve thrown the coffee away after brewing the first pot.
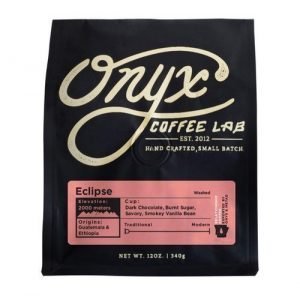
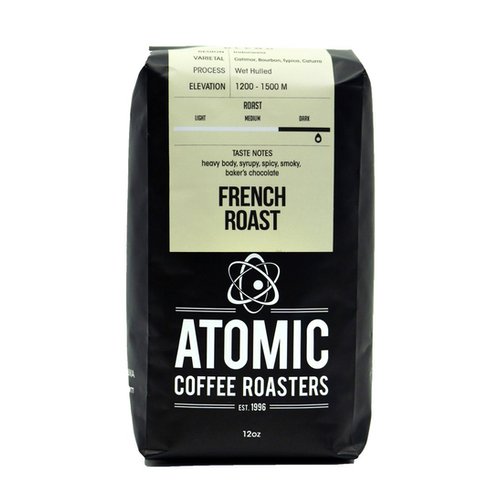
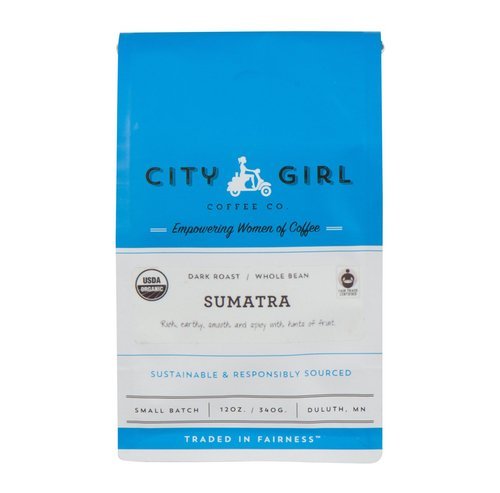
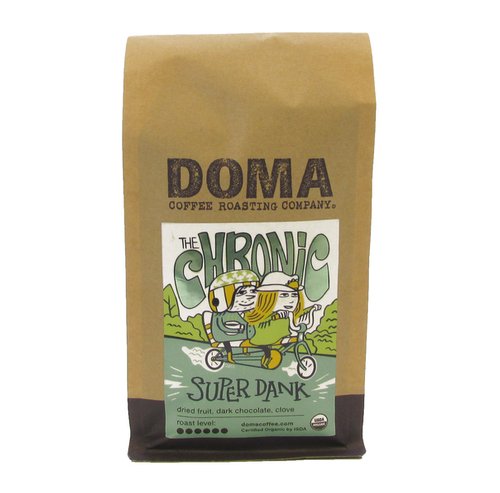
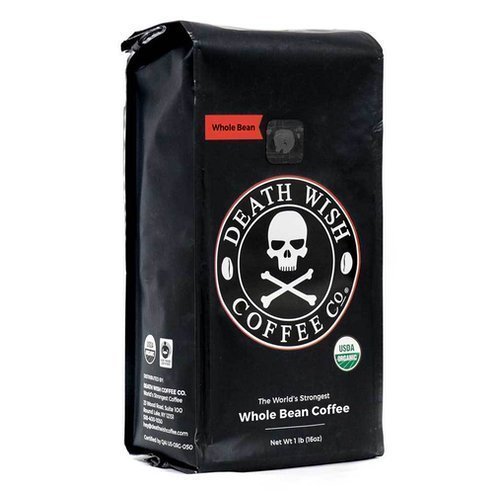
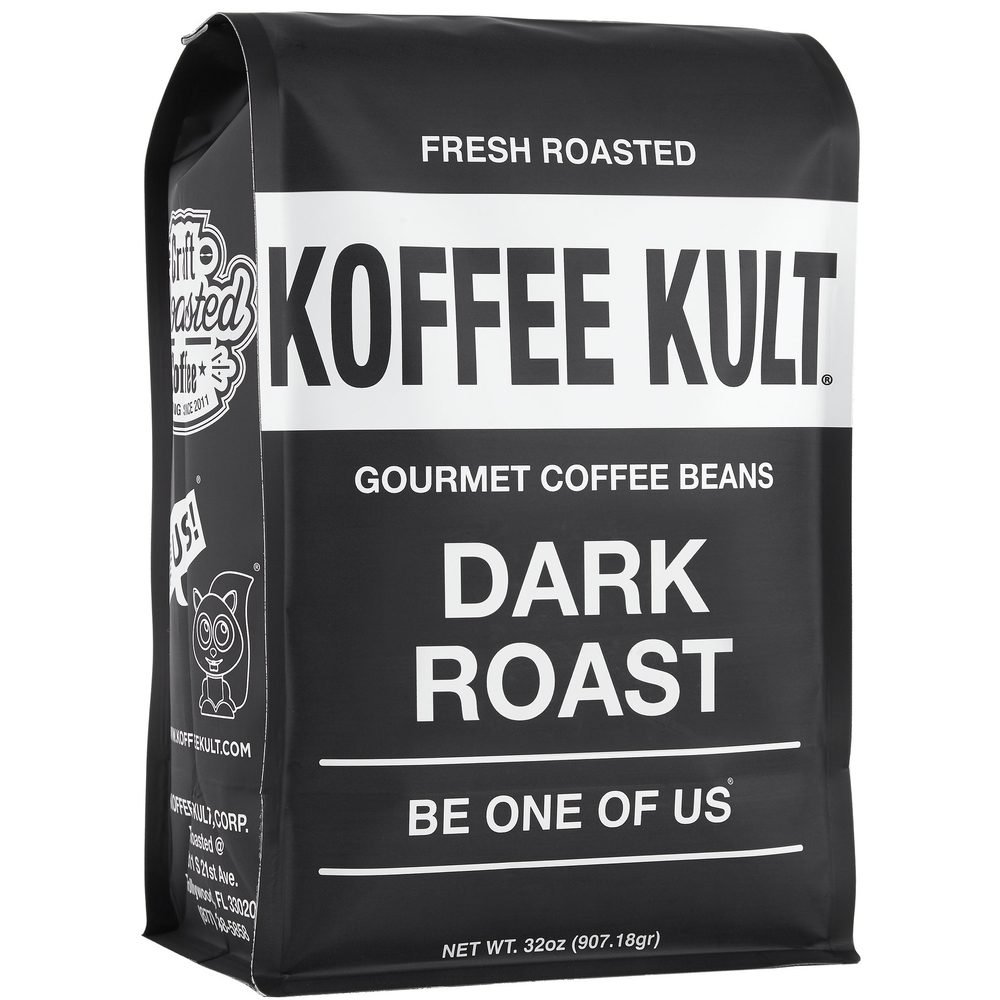
The following are six of our favorite dark roast coffee beans.
I need to mention one more, which isn’t shown since it’s only a seasonal blend: Starbucks Christmas blend. It’s also one of our favorites. If you’ve never tried it, buy a bag when you can. You won’t be disappointed!
The Best Dark Roast Coffee
Tap on the bag of coffee to learn more.
To make sure your beans stay fresh from the moment you open the bag until you brew the last of your beans:
- Buy and use beans as close to the date they were roasted as possible
- Store your coffee beans in a vacuum-sealed container (I cover this more in the coffee equipment section)
- Avoid exposing the beans to excessive heat or sunlight
- Buy whole beans and grind them yourself
The Best Coffee Brewing Equipment
To brew the best dark roast coffee, you’ll need 4 pieces of equipment:
- Coffee Storage Container
- Digital Scale
- Coffee Grinder
- Drip Coffee Maker
The Best Coffee Storage Container: The Airscape®
Don’t take this for granted. If you store your coffee beans in the bag they come in, a Ziplock bag, or a cheap, plastic container, don’t do that. They’ll lose their flavor too fast.
Oxygen, humidity, and heat ruin your coffee beans.
Contrary to what you might have heard, do not store your coffee beans in a Ziplock bag in the freezer. They should remain at room temperature and exposed to as little air as possible.
That’s where the Airscape® container comes in.
After pouring your beans in the canister, you press down on the inner cover. As you do, the cover presses air out of the container, creating a vacuum. It’s super slick.
We love the Airscape so much that I recently had custom VIGOR Training Airscape Kilos made. Some of the VIGOR Training members got the canister as a 2-year VIGORversary loyalty gift.
Since black coffee is the only pre-workout drink I recommend, it was quite fitting.

If you’d like to, get a plain Airscape Kilo on Amazon.
Digital Scale: Reader’s Choice
If you want a perfect cup of coffee, measure your beans with precision.
Order a digital scale that measures in ounces or grams. I don’t have a recommendation as the “perfect digital scale.” Almost any will do. Just get one.
Best Coffee Grinder: Baratza Encore
We’ve used the Baratza Encore burr grinder for a few years now. It works as well as the day we got it. It’s one of the highest-rated, entry-level burr grinders.
The Baratza Encore is a conical burr grinder, not a blade grinder. Burr grinders pulverize the beans instead of cutting them up, which produces less heat, and grinds the beans to a more consistent size.
You can also adjust the grind size of the beans with just a turn of the dial.
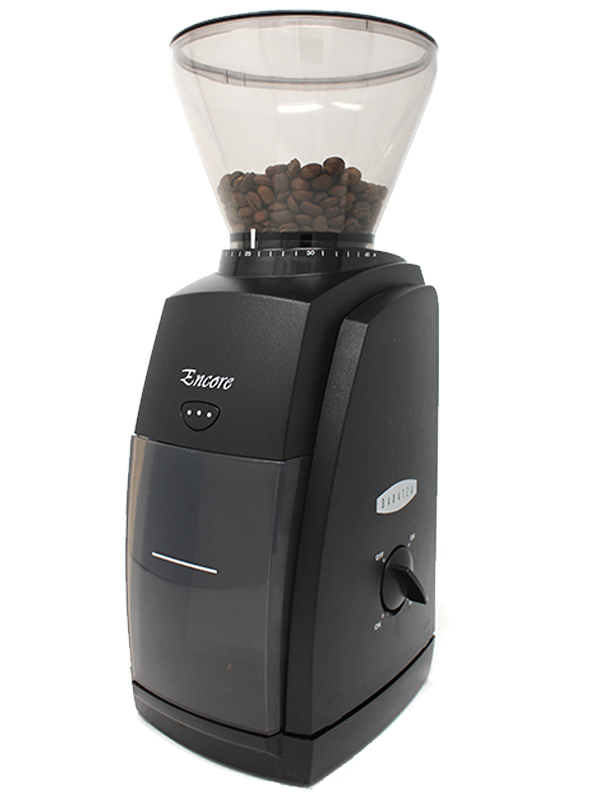
For example, on special occasions I’ll make pour-over coffee instead of drip coffee. For a pour-over, I set the Encore at a 14. For most drip coffee makers, you want it at a 20, which is a courser grind. For our Moccamaster, which I discuss below, I’ve found 17 to be ideal.
The size of your grind makes a big difference. The Encore has a range of 40 different grind sizes. If you make espresso, you’ll use a setting closer to 1, the finest grind. You’d use a higher number for a courser grind, like when making French Press.
The point is, the grinder is perfect for tinkering with a variety of coffee brewing methods.
The Best Drip Coffee Maker: Technivorm Moccamaster
Over our 16 years of marriage, we’ve owned and tried numerous coffee makers. I find coffee fascinating, and have been on a constant quest to make the best coffee I could.
In 2013, we moved to a brand new apartment in downtown Minneapolis. Vanessa got to pick our furniture. I got to pick the coffee maker. I was cool with that because she’s way better at decorating than me.
We went to Williams-Sonoma, and I bought the Miele CM6350 Fully Automatic Espresso Machine.
At $2200, I thought it was going to be a coffee-lovers dream come true. The next week was more of a nightmare. We went through three pounds of coffee in a single week. On top of that, we didn’t make two cups of coffee that tasted alike.
And after six days of frustration, we took it back to Williams-Sonoma. Fortunately, they gave us a refund.
Leading up to the Miele purchase, I’d read numerous reviews about the Technivorm Moccamaster, but thought that the coffee from a $300 coffee maker could never compare to that of a $2200 coffee maker. I was wrong.
We ordered the Moccamaster the day before we brought the Miele back, and it arrived a couple of days later. We fell in love with the first cup.
I tinkered and tweaked the grind and the amount of coffee until I arrived at the perfect recipe (outlined below).
We did veer away from the Moccamaster for a while. My mom got us a Hario V60 pour-over decanter.
I brewed coffee with the pour-over for several months. Eventually, the novelty wore off, and we went back to the Moccamaster.
The pour-over coffee tasted great, but…
- one pot didn’t make enough coffee, so I had to make coffee twice a day instead of once
- the coffee got cold before we get to the end of the pot because there is nothing heating it to keep it warm
- pour-overs require you to be there, pouring water over the beans, the whole time
I still do make a pour over on occasion, using the Hario V60 pour-over decanter. But, the Moccamaster is what I use for our usual morning routine.
What makes the Moccamaster so special?
First designed in 1968, the Technivorm Moccamaster is the preferred brewer for testing coffee throughout the world.
Its features make it stand apart from the competition year-after-year.
First, it brews coffee at a consistent temperature of 92°-96° C. When you brew at temperatures hotter than that, coffee tastes scalded. When it’s too cool, you don’t get much flavor.
Next, the coffee arm sprinkles water onto the coffee grounds like a pour-over. The beans get soaked just enough to create a coffee bloom, which draws just the right amount of flavor from the beans.
Third, the shape of the brew basket keeps the water in contact with the coffee just long enough to maximize flavor.
Once in the pot, the heating plate keeps the coffee between 80°-85° C.
Any plastic components are BPA/BPS/BPF & Phthalate-free.
It also comes in several different models with glass or thermal carafes, and various pot sizes. You can get a model that brews a single cup, or a commercial version for your office.
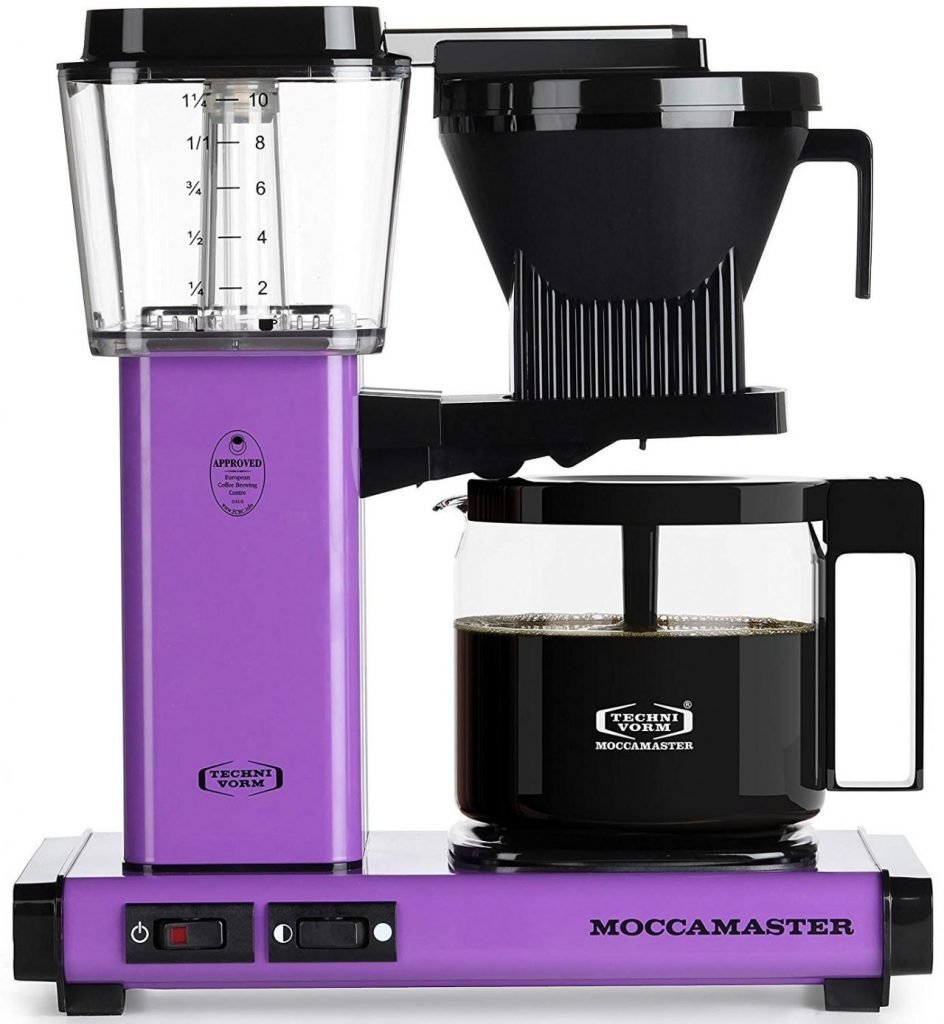
We bought the Moccamaster KGB, which has a 10-cup, glass carafe and a drip-stop, so if you pull the pot out before it’s completely done brewing, you won’t spill coffee on your countertop.
If you follow my wife, @vanessaraeromero, it should come as no surprise that we own the purple model.
How To Brew The Perfect Cup of Dark Roast Coffee
Now that you know which beans to buy, and what equipment is most important and effective, here’s how to put it all together.
The entire process takes about 8-10 minutes. It isn’t as fast as making a cup with a Keurig, but the extra time will be well worth it. If you don’t have all of the equipment outlined above, I first recommend you order it. However, even if you don’t, use what you have and follow the steps below for a much better cup of coffee.
1. Measure Your Beans: 2.5 ounces of beans for 10 cups of coffee
A 10-cup pot of coffee in a Moccamaster is 42 ounces. So, if you use a different coffee pot, and 1 cup is equal to more than 4 ounces, adjust accordingly.
If 2.5 ounces is perfect with 42 ounces of water, use 3.6 ounces of beans with 60 ounces of water. To make 8 cups of coffee in the Moccamaster, I use 2 ounces of beans.
2. Grind Your Beans
When you grind your beans, they produce static. The static causes the beans to cling to the grinder container. By letting them sit for a couple of minutes, the static goes away, making it easier to pour the beans into your filter. That’s why grinding them comes before the next few steps.
Remember, the size of the grind matters a lot. Be sure you grind according to your brewing method.
3. Add Cold, Filtered Water to Your Coffee Maker
Ice cold water makes better coffee. You’d think that it wouldn’t matter since the water gets heated up anyway, but it does.
Ideally, use filtered water, but not reverse osmosis water. Bad-tasting water makes bad-tasting coffee, so if you don’t have good filtered water, just buy some water from the grocery store and store it in the refrigerator, so it’s cold when you’re ready to make coffee.
4. Put Your Filter In Your Brew Basket
Of course, you might need to remove yesterday’s coffee grounds and rinse out the brew basket. Dirty brew baskets and carafes make bad-tasting coffee.
We use either Melita or Moccamaster #4 coffee filters. Don’t use a reusable coffee filter. Over time, it’s almost impossible to get the old coffee taste off of it.
If you use a reusable filter and have to throw it away, that reusable filter will be in the landfill a lot longer than the paper filter you could have used instead.
5. Rinse and Wipe Out Your Coffee Pot
Coffee oils get left behind when your coffee pot dries. It should be rinsed and wiped out each day.
This was the main reason I chose the glass carafe version of the Moccamaster over the thermal carafe. The glass carafe is much easier to clean.
Put the carafe in its place.
6. Add Your Beans to the Brew Basket
It’s almost go-time. Add your beans and shake the brew basket gently, trying to get the beans evenly distributed in the basket. Add it back to your coffee maker.
7. Press the Start Button
You’re almost there! About 25 seconds after you start it up, you’ll see the water start bubbling.
Six minutes later, you’ll be able to pour your cup of coffee and take your first sip.
Here’s a glimpse of our coffee-making process with our grandson Asher. He loves to make coffee for Grandma Vanessa, as he did on this Valentine’s Day video.
Note: Many of the links included in this article are for specific products. When found on Amazon, I’ve used Amazon affiliate links. If you click on the link and make a purchase, I may earn a small commission. Perhaps enough to get a cup of dark roast coffee.